Friday, October 20, 2023

AECP Level 1 - For the Guys

Today's AECP course was called, "For the Guys" and provided some great ideas for creating cards for the men and boys in our lives.  These tend to be the hardest cards for me to come up with, so these ideas were welcomed and a lot of fun.

But even after watching the videos, I thought for a bit on what I would make.  I came up with a hot air balloon stencil as we just had the Balloon Glow and Balloon Races here in my part of the US.  I really enjoy these events and there is usually something for everyone - guys and girls.


I started by picking 4 colors for my balloon and using the Altenew Up & Away Stencil Set (Stamps and Dies are also available), I layered on the colors on a 6 x 6" white card panel.  After I was finished, I realized that I really wanted my darker two colors to be diagonal from each other and I wanted the greys to be in a row and blues in a row.  So, I decided to do another round of stenciling, making a second balloon.


Two things were realized at this point.  First was, I had some white areas between colors.  Somehow I don't have the stamp in my stash, so I decided to take an artliner and just draw around the entire image and each color on the balloon (just like a stamp would have left an image).  At first, I was nervous, but as I continued, I realized, it was quite easy and I did better if I kept a good steady pace and not worrying about making a mistake.  


Once the outlining was done, came my second realization......I liked my first image as much as the second anyway.  My need to put the darker colors diagonal did not make as big of a difference as I had thought.

Now, we had the big white "blob" to deal with which would have been ropes and the basket on the stamped image.  I briefly considered trying to draw this in, but quickly decided that was not something I could do.  So, I decided to cut a black 2 1/4" circle and just cover that area.  I really like how this turned out.


Next came the background, as I did not want just a white background.  For one image, I fussy cut the balloon.  Then I took some light blue cardstock and used the Cloudy Day embossing folder to make a cloud background.  I then put the balloon on foam tape and put on top of this panel which I trimmed down to 5 3/4 x 5 3/4" to get rid of the edges that did not have the embossing.


For my other image, I took the Cloud Stencil and laid it across an area at the top.  I used my blue blending brush and lightly blended color onto the paper.  I used only the ink that was left in the brush and did not add any ink while doing this background.  On the second layer, I had to also lightly blend above the balloon.  I continued making clouds all the way down the panel.  I really liked how this turned out.  I trimmed it down to 5 3/4 x 5 3/4" as well.


My final steps were to find some blue and white cardstock in my scrap bin.  I cut out the shadow and the word "hey" out of each and layered them.  I put this sentiment on foam tape and attached it to the image on top of the black circle.  Then I put the panel onto a 6 x 6" card base, using foam on the stenciled cloud card panel and only double sided tape on the light blue panel.


I am really pleased on how these two cards turned out and I think they would be a great card for any guy in your life.  I hope you enjoyed today's card.


Donna T


Products Used:

Altenew Up & Away Stencil Set (Stamps and Dies are also available)


My Favorite Things Cloud Stencil

Pink and Main Cloudy Day Embossing Folder

Hey Die Set - word and shadow

Catherine Pooler Ink - Stone Blue, Pebble, Slate and Suede Shoes

Spectrum Noir Artliner - 0.3


Thursday, October 19, 2023

AECP Level 1 - Easy Ink Blending Techniques

For today's class of AECP Level 1, we covered several different ink blending techniques.  There were a lot of great uses for ink blending covered and I decided to do my project using Emboss Resist with Ink blending.


I started with a 4 1/4" x 5 1/2" card panel on my stamping platform.  I used my anti-static tool to cover the panel.  Then, I added the 2 outline flowers from Altenew Nature Blossoms and placed them in random places.  I stamped the 2 blooms using my embossing pad (stamping a couple of times to ensure full coverage), then covered with white embossing powder.  I used my heat tool to melt the powder.  Then I repeated this process 2 more times, placing the blooms in random locations on the panel.


Then took a piece (I had some larger scraps) of white cardstock and stamped the Altenew Perfect Gift flower outline using black ink.  Then I took the Perfect Gift stencil and blended the Berry Burst ink for all the petal colors.  I varied the amount of ink from darker to lighter on the petals.  I then used the Rich Razzleberry for the accent part of the stencil and Bumblebee for the center.  Then I used Certainly Celery for the background of the leaves and Wild Wasabi for the accent.  Once satisfied with this flower, I die cut this out.


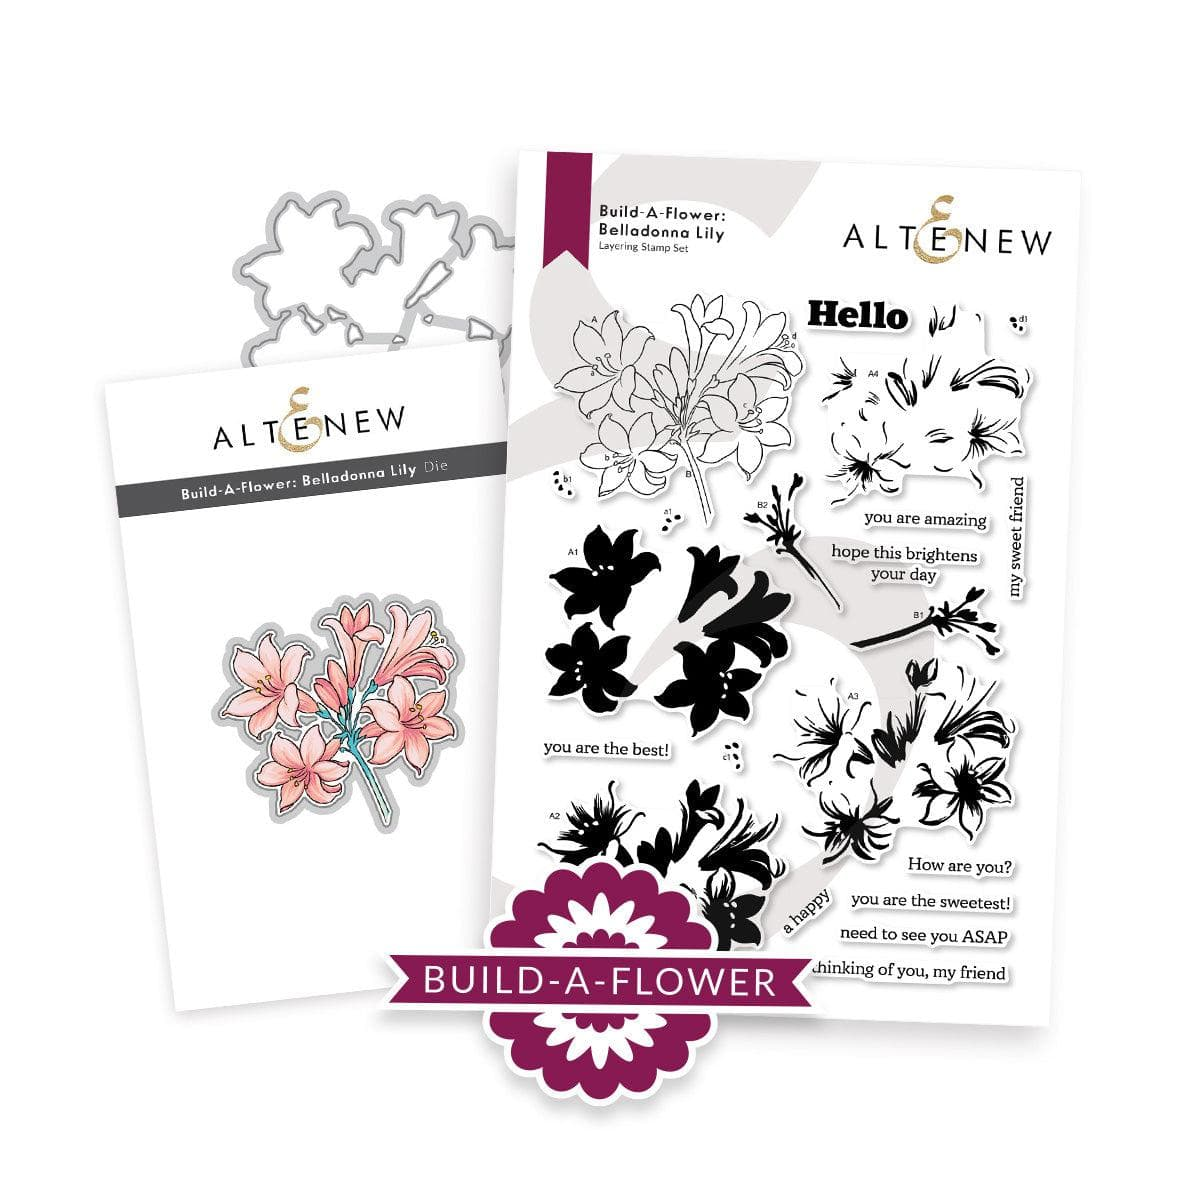
Next, I took the "Hello" and the "hope this brightens your day" sentiments from the Altenew Build-A-Flower: Belladonna Lily set and stamped it with black ink on white cardstock and fussy cut around it.

I then went back to the background and did the blending over the embossing.  This is where the emboss resist happens.  The dye ink will not cover the white embossing, so you see those white flower outlines remain with the blending everywhere else.  I used Bubble Bath and Fresh Freesia, making some flowers in each color and blending the colors together.  


I then cut this panel down to 4" x 5 1/4" (cutting off the sides that had a little mistake).  I put this onto my A2 card base.  I put my sentiment and die cut flower on foam tape and arranged them onto the card as desired.  I realized I wanted my sentiment to be not so bright white, so I took my pink blending brush and used what ink was still on my brush and just brushed over the sentiment to take off that stark white look.


I really like how this turned out.  It is really pretty and such a quick technique.  Hope you enjoyed!

Donna T.


Products Used:

       Altenew Nature Blossoms 

        Altenew Build-A-Flower: Belladonna Lily


Other Products Used:

Altenew Perfect Gift stamp, die and stencil set

Brutus Monroe Alabaster Embossing Powder

WOW! Ultra Slow Drying Embossing Pad

Pink and Main Magic Anti-static Brush

Stamping Platform

Foam Tape

Tape runner

Embossing heat tool


Inks Used:

Momento Tuxedo Black

Blended background:

Stampin' Up Fresh Freesia

Stampin' Up Bubble Bath

Perfect Gift Flower Stencil:

Stampin' Up Berry Burst (A1, A2, A3)

Stampin' Up Bumblebee (A4)

Stampin' Up Rich Razzleberry (A5)

Stampin' Up Certainly Celery (B1)

Stampin' Up Wild Wasabi (B2)


Wednesday, October 18, 2023

AECP Level 1 - Easy Die Cutting Techniques

The lesson I did today for the Altenew Educator Certification Program was called Easy Die Cutting Techniques.  When I started watching this class, I was saying to myself.......I die cut all the time, this will have nothing for me.  Well, as we are often told, there is always something to be learned.  

Many of the techniques I was familiar with, but I don't use them, so this was a great class to really think about creative ways to use die cutting.  As I watched each lesson, a plan for a card slowly formed using two of the lessons combined.  These were the Negative Die Cutting lesson and the Inlaid Die Cutting lesson.


For this card, I used the Altenew Fresh Bloom Stamp and Die Set.  My goal here was to have my main flower in the center, negative die cut the leaves and inlay the small little flower sprig off one side.  And this sounded easier in my head than it really was.  It took me several attempts to get this right.  Most of my issues were that I was in a hurry and I really needed to slow down to get everything right.  And I did just that.  I put it away, went to a meeting I was needing to get to and finished when I got home.....success!

Using black ink, I stamped the A1 outline image in the middle of a white card panel (actually I did this several times due to my errors and kept a couple to use along the way).  Now comes the fun part.  I wanted to get my die cutting right before I spent my time filling in all the colors.

I laid down the leaf die cut the way I wanted it, leaving enough space around the edges to trim down the card later.  I put tape over the area I DID NOT want to cut to hold it in place.  Then I put this on my bottom plate and I taped the card panel onto the plate at an angle so that I could have a straight line where I wanted to stop cutting.  I then put my plastic shim and top plate over the area I wanted to cut, stopping the edge just before the tape.  I then put this into my die cut machine, with the single plate section going first and careful to hold everything into place.


This part took several attempts as I would put the plates in the wrong place (thus cutting out the section I did not want cut).  Or I put the plates too close to the tape and it would cut far into my flower.  Finally, I had all 3 areas cut where I was satisfied.  I then took an exacto knife and carefully cut around the flower to remove the die cut pieces.  I was careful to save the flower sprig for a later step as well.


After that was done, it really was pretty simple to finish up this card.  I used the remaining layers of the flower stampe to fill in the colors (see layers and colors below).  I also stamped a second one, not worrying about lines too much so I could use it for several checks in later stamping.

I then picked out a green card stock for under this panel.  I cut the white panel to 3 3/4" x 5" and then cut the green panel to 3 7/8" x 5 1/8".  I probably should have left it bigger and cut it down later, but this worked fine for me.

I taped the green panel where I wanted it to the white panel on one end to make a hinge.  I then put this in my stamping tool and lined up my leaf outline stamp (B1) into the open area.  I put some acetate on top and did a practice stamp and it looked pretty good.  So, I opened the white panel and stamped the image on my green cardstock (note the white panel is still hinged to the green to keep everything aligned).  I did this a second time for the other leaf grouping.


Next came the sprig.  I tried a black outline and a bright pink outline on my practice card and decided on the black.  I then used the sprig die cut outline on my practice card panel to figure out where to put my stamp on my stamping tool.  Once I was happy, I put a small piece of tape on the back of my real die cut piece, put it where the die had cut on this practice one and stamped the image.  It worked great!!  I then colored the sprig with 3 Copic markers (colors listed below).


I picked out a coral cardstock for my layer under the green and cut it to 4 1/8" x 5 3/8".  With some that I had left, I cut 3 more sprigs in the coral and a small square that would go under the sprig opening.  I took the 3 die cuts in coral and glued them behind the colored piece and cut off the bottom that would not be used.  I then glued the coral square under the white card panel to cover the sprig opening.  This way if you see under the raised sprig, it will still be the coral color.


I also used my green Copic marker to add some highlights to the leaf stamped images on the green cardstock.  Then I glued my green panel to my white panel, making sure to glue all the little pieces and making sure to keep the leaves aligned.  Then I glued that to the coral panel and then all that to my white card base.


I popped the little spring up on some foam tape and put it in opening cut for it (Inlay Die Cutting).  The last step was to pick a sentiment from one in my stash and I stamped "Sending Hugs" in the bottom right corner.  I added a few jewels to fill in a few places as well.


This was a fun card to make and I hope it gives you some ideas on things you can do with die cutting as well.

Until Next Time.

Donna T


Products Used:

Altenew Fresh Bloom Stamp and Die Set 


Stamp Colors:

A1, B1 and Sprig - Momento Tuxedo Black

A2 - Catherine Pooler Do-Si-Do

A3 - Catherine Pooler Polished

A4 - Catherine Pooler Samba

A5 - Catherine Pooler Tutti Frutti

A6 - Catherine Pooler Chiffon

A7 - Catherine Pooler Limoncello

A8 - Catherine Pooler Glitz


Copic Colors for the Sprig:

RV23 - Pure Pink

RV25 - Dog Rose Flower

G94 - Grayish Olive


Tuesday, October 17, 2023

AECP Level 1 - Clean and Simple Boutique Cards

The Clean and Simple Boutique cards class from Altenew had a lot of great ideas for creating "simple" cards that make a big impact.  This is especially important when you need a card quick.  I tried several of the ideas from the class, but wanted to share one today that I had been wanting to try for a few weeks now.

The lesson within in the class was about Foiling and Metallic details.  I LOVE to foil and use my Minc machine a LOT.  However, I am usually foiling on preprinted toner sheets, so I am limited to the items that I have in my stash or that I can purchase.  Recently, I had seen someone mention foiling using embossing powder.  This sounded like a game changer to me......to be able to stamp an image and then foil it......OH THE POSSIBILITIES!!!

To be fully transparent, prior to the class, I gave this a try on my own and it failed miserably!!  It was a very distressed look to say the least.  So, I was very glad to see this lesson.


The first thing I did was take some watercolor paper and used some dye ink (Catherine Pooler's Pixie Dust and Royal Treatment) mixed with a little water to cover my paper using a regular paint brush.  I wanted this to be airy, so I did leave some lighter areas as well.  I used my embossing tool to dry my paper once I was satisfied with the result.  

Creating full sheets of watercolor backgrounds can be done ahead of time and you can then quickly grab them when needing a quick card.

Next, I picked the Altenew Build-A-Flower: Bearded Iris stamp set.  I chose a shading layer for both the flower (A3) and the leaf (C3) and laid this out on my card.  Then I used a stamping platform to pick these up and used a darker ink (Catherine Pooler's Royal Treatment for the flower and Eucalyptus for the leaf) to stamp these shading areas.  I did use my heat tool for a quick pass to ensure this ink dried.

Now for the fun part!!  I used a new Anti-static tool I had just received on my cardstock.  I then put down the outline of the flower and the leaf and stamped it using embossing ink (Versamark is what I used).  I added my Embossing Powder (Brutus Monroe Foil Reactive Embossing Powder), tapped off the excess and used a small brush to try and clean off any stray bits.  I used a purple foil sheet I had in my stash and ran it through my Minc machine twice to ensure it was adhering.

Well, you might be expecting magic, but when I pulled away the foil sheet, I was very disappointed.  I had dots of foil everywhere.  I guess I needed to check the image better.  I was using 2 new products (the anti-static tool and the Foil Reactive Embossing Powder).  


Luckily, I had a lot more area to work with on my watercolor paper, so I decided to try one more time.  This time, I used my Pink and Main Magic Anti-static Brush that I use regularly.  I did look a lot closer once the powder was on and only had a few stray pieces to get off.  The results, the second time were much better.  I had probably 3-4 stay dots of foil and I used a sharp edge to lightly scrape those off.

I did feel like the leaf needed a bit more green, so I used Catherine Pooler's Lime Rickey with water and watercolored in the open pieces on the leaf.  I then stamped the sentiment using Royal Treatment ink (sentiment is from Altenew's Blissful Bud stamp set).

I debated whether to mount this card on white cardstock, a dark purple, both colors or no background color.  I like the look of at least one layer for a more finished look.  After laying each down, I found I really liked the look of the dark purple as the card base.

Overall, I am pleased at how this turned out.  I think I can still perfect my techniques, but this does open a lot more possibilities in my foiling adventures.


I hope you enjoyed this explanation and will post as I work through the next set of classes.

Donna T.


Products used:


Altenew Build-A-Flower: Bearded Iris stamp set


Brutus Monroe Foil Reactive Embossing Powder  

  Pink and Main Magic Anti-static Brush

Sunday, October 15, 2023

The Perfect Gift - Altenew October 2023 Inspiration Challenge

 I received this wonderful stamp, die, stencil and embossing folder set from Altenew as part of the Scrapbook and Cards Today Fall 2023 Crop and Create Delivered classes.  This set is called "Perfect Gift" and is wonderful and so versatile.  I love creating with it.


For today's card, I wanted to use the set for the Altenew October 2023 Inspiration Challenge.  This challenge provides an inspirational photo which can guide you for making a project.  In my case, I used the coral, red and orange tones on my card.


I first embossed the flower and frame image using the embossing folder that is part of this kit.  I then took the stencil and added embossing ink to the frame, so that I could emboss the frame in a copper color (as my orange element).  I absolutely love copper, so this was an easy decision for me.  However, in my excitement, I forgot to use an antistatic powder and my first attempt had lots of dots of embossing powder where I did not want them.  So, I did a "Take 2" and did another frame.  But I did save the first one as explained next.

Next, I took the original embossed image and did the flower stencil on that flower.  It was perfectly fine and I used an array of coral and orange/red tones for the flower and 2 shades of green for the leaves.  I did not stamp the outline of this image, but the embossing gives it the texture and I like this look.  I then took the die cut and cut this image out.  Then I put it on foam tape and added it to my good embossed frame card panel.

For the sentiment, I stamped "Perfect gift" in embossing ink and used the same copper embossing powder on it.  I then used the set's die cut to cut out this.  However, this die cut is detailed and is not open.  So, I cut it in black card stock first and then used that outline to line up my stamped image so the die cut was done in the right place.  Foam tape was added to most of the sentiment, with glue added to the bottom letters that were overlapping the flower.


For the last steps, I stamped the words "you are the" using the darker ink from the flower.  I then used a corner rounder on the corners of my card panel and then put it on some card stock that matched my darker color in the flower.

I love this clean look and I think it highlights the beautiful colors that were an inspiration for this project.


Thanks for stopping by and until next time....keep on crafting.

Donna T.

Thursday, October 12, 2023

AECP Level 1 - Celebration Stencil Techniques

Greetings!  I have started the next step in my card making journey.  I am working on my Altenew Educator Certification Program.  There are several courses across 3 levels.  I will be posting during many of the courses and showing the techniques that I learned and then used during each course.

My first course was called Celebration Stencil Techniques.  Although I tried several of the stencil techniques, I wanted to showcase the use of a die to make a stencil.  And this led me to getting a two-fer out of this technique.


I started with the Altenew Garden Trellis Cover Die.  I cut this in a sturdy 100 lb. cardstock in order to ensure that it would hold up when using it as a stencil.  

After cutting, I put it down on plain white card panel and taped it into place.  I then color blended with distress oxide ink, making the edges darker and leaving the center just a little lighter to draw your eye to the middle.  You will want to ensure the stencil stays in place, so you may want to use a block to hold down areas you have already inked over.  Also, you will want to go lightly and layer the color to ensure you don't tear your stencil.  This is one of the reasons, I used the heavier weight card stock.

Once ink blended, you can remove the stencil.  You then have two wonderful items to use as bases for your 2 cards.  One is the stenciled card base and the other is what you used as a stencil, which you can keep for later or use, as I did, for another card.

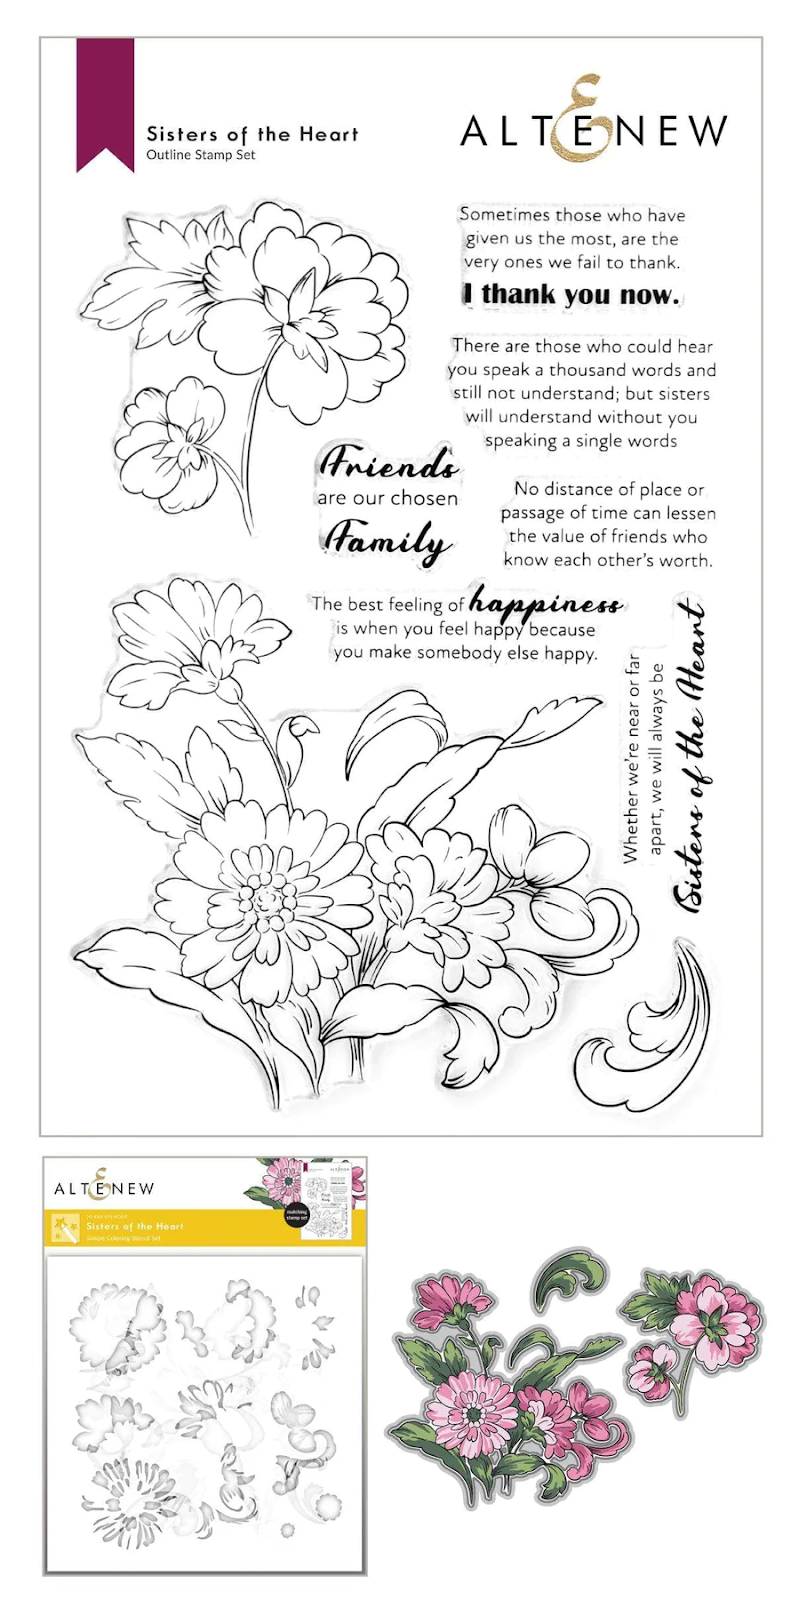
For the first, I then used the Altenew Sisters of the Heart stamp and stencil to create my center flower piece.  This is such a great set with lots of different options.   I used the smaller flower stamp and then used the stencil to get the colored layers using matching and complementary colors to my back ground.  I then popped that up on some foam tape in the center of the card for some dimension.  


I then die cut the Altenew Bold Thanks Die Set using black cardstock for the shadow layer and white cardstock for the top layer.  I assembled this and then placed in the bottom right corner of my card.  Last, I added a few jewels from my stash.


For the second card, I used the trellis that was used as our stencil and placed it on a white card base with glue.  I die cut the Altenew Mega You Die in black card stock and put across the top of my card using foam tape.  I then stamped "you are amazing" from the Altenew Build-a-Flower:  Belladonna Lily stamp set and cut off the "you".  I then put under the "You", again using foam tape.  


Next, I stamped the Altenew Mini Dogwood stamp and colored it using my Copic alcohol markers.  I put this in the lower right corner on foam tape and added a few leaves I already had colored in my stash.  Last, I again added a few jewels from my existing stash.


I hope you have enjoyed this explanation of using your die cuts to make stencils and then allowing you to make 2 cards in one pass.  I look forward to many new techniques in these classes and I hope you enjoy the outcomes of my endeavors. 

Have a great day!

Donna T


Products used:


Altenew Garden Trellis Cover Die                                Altenew Bold Thanks Die Set


Altenew Sisters of the Heart                                            Altenew Mega You Die


Altenew Build-a-Flower:  Belladonna Lily                               Altenew Mini Dogwood


Alcohol Ink Flowers – AECP Level 3 Final Project

**** WARNING – This is a very long post about my journey with AECP **** When I started the Altenew Educator Certification Program, I thoug...