Greetings! I have started the next step in my card making journey. I am working on my Altenew Educator Certification Program. There are several courses across 3 levels. I will be posting during many of the courses and showing the techniques that I learned and then used during each course.
My first course was called Celebration Stencil Techniques. Although I tried several of the stencil techniques, I wanted to showcase the use of a die to make a stencil. And this led me to getting a two-fer out of this technique.
I started with the Altenew Garden Trellis Cover Die. I cut this in a sturdy 100 lb. cardstock in order to ensure that it would hold up when using it as a stencil.
After cutting, I put it down on plain white card panel and taped it into place. I then color blended with distress oxide ink, making the edges darker and leaving the center just a little lighter to draw your eye to the middle. You will want to ensure the stencil stays in place, so you may want to use a block to hold down areas you have already inked over. Also, you will want to go lightly and layer the color to ensure you don't tear your stencil. This is one of the reasons, I used the heavier weight card stock.
Once ink blended, you can remove the stencil. You then have two wonderful items to use as bases for your 2 cards. One is the stenciled card base and the other is what you used as a stencil, which you can keep for later or use, as I did, for another card.
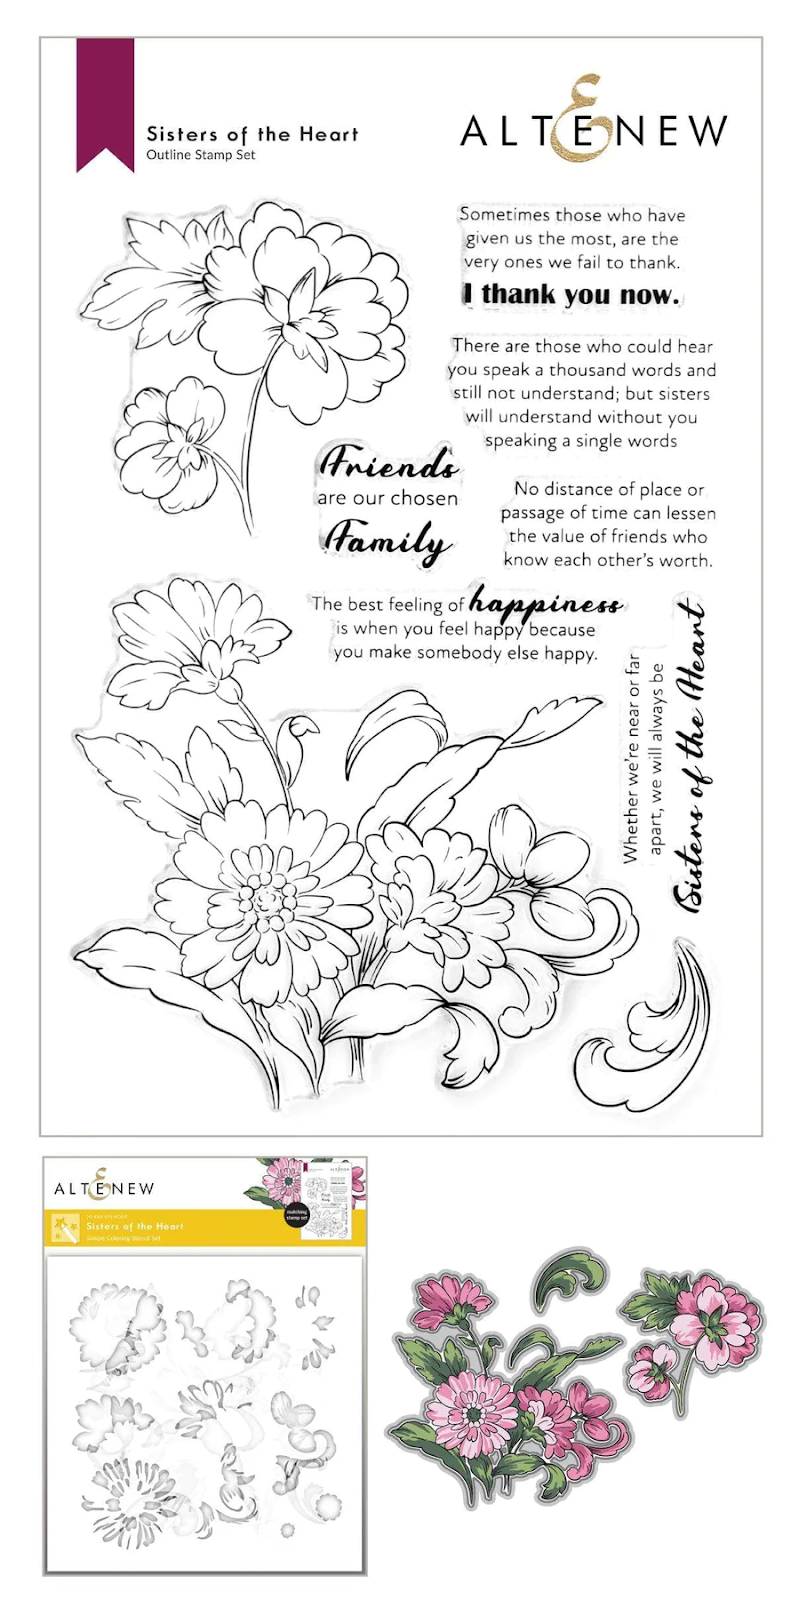
For the first, I then used the Altenew Sisters of the Heart stamp and stencil to create my center flower piece. This is such a great set with lots of different options. I used the smaller flower stamp and then used the stencil to get the colored layers using matching and complementary colors to my back ground. I then popped that up on some foam tape in the center of the card for some dimension.
I then die cut the Altenew Bold Thanks Die Set using black cardstock for the shadow layer and white cardstock for the top layer. I assembled this and then placed in the bottom right corner of my card. Last, I added a few jewels from my stash.
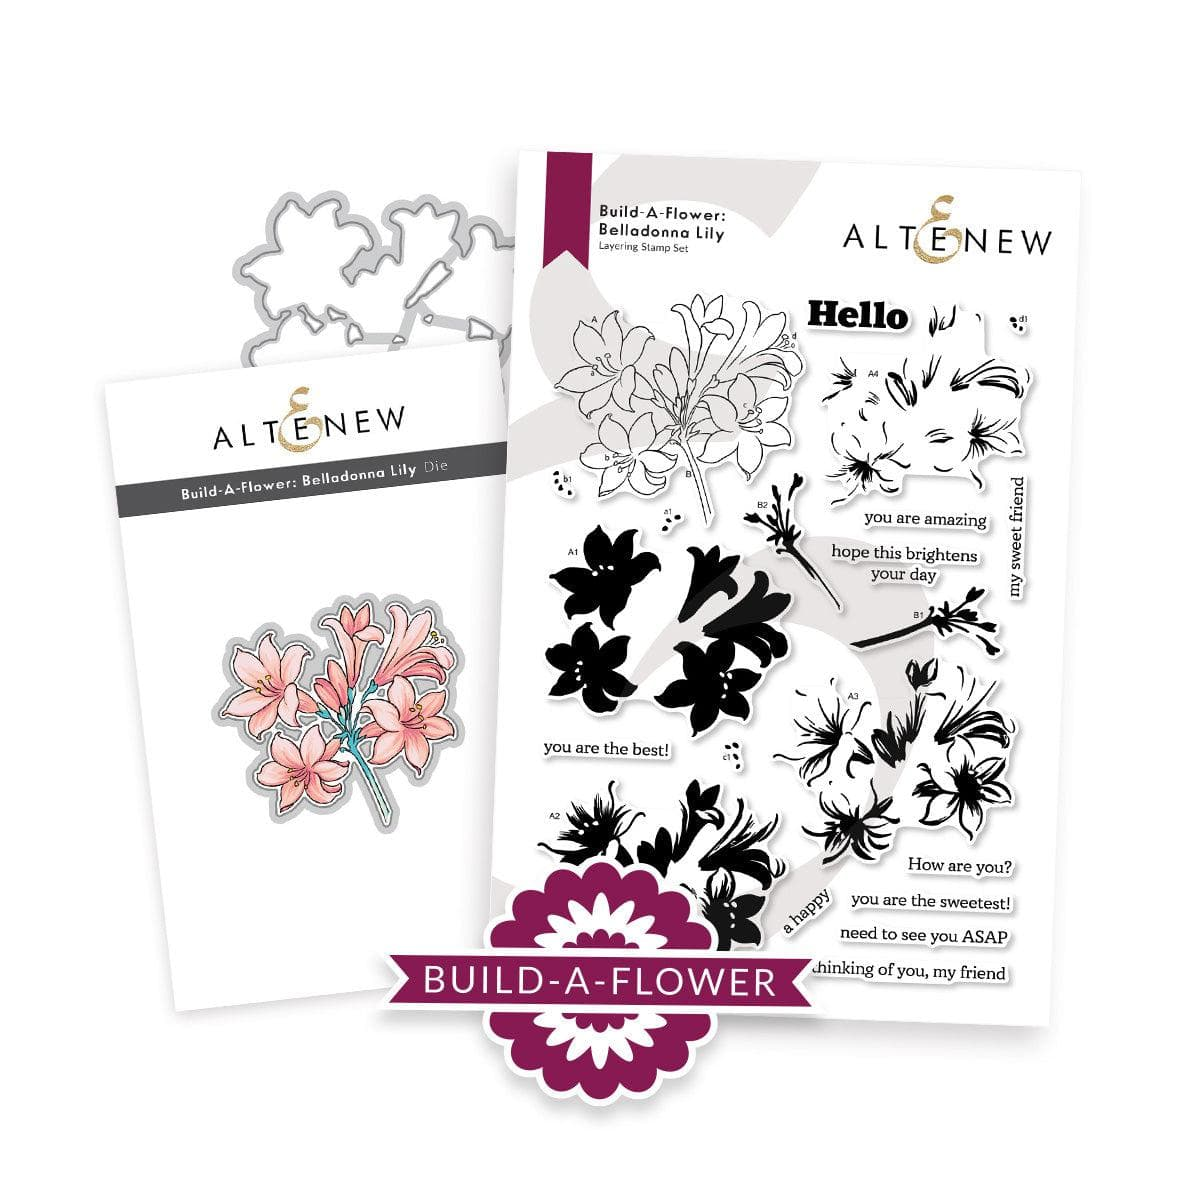
For the second card, I used the trellis that was used as our stencil and placed it on a white card base with glue. I die cut the Altenew Mega You Die in black card stock and put across the top of my card using foam tape. I then stamped "you are amazing" from the Altenew Build-a-Flower: Belladonna Lily stamp set and cut off the "you". I then put under the "You", again using foam tape.
Next, I stamped the Altenew Mini Dogwood stamp and colored it using my Copic alcohol markers. I put this in the lower right corner on foam tape and added a few leaves I already had colored in my stash. Last, I again added a few jewels from my existing stash.
I hope you have enjoyed this explanation of using your die cuts to make stencils and then allowing you to make 2 cards in one pass. I look forward to many new techniques in these classes and I hope you enjoy the outcomes of my endeavors.
Have a great day!
Donna T
Products used:
Altenew Garden Trellis Cover Die Altenew Bold Thanks Die Set
Altenew Sisters of the Heart Altenew Mega You Die
Altenew Build-a-Flower: Belladonna Lily Altenew Mini Dogwood


Absolutely fantabulous cards!
ReplyDelete