
**** WARNING – This is a very long post about my journey with AECP ****
When I started the Altenew Educator Certification
Program, I thought that this would only take about 2 months and I could just
fly through it. However, I did not anticipate
that my personal life would take a huge turn (I lost my job and was doing a lot
of job hunting). And I did not
anticipate all that I would learn through the classes. In all, the whole cycle took me 10 months
with some breaks along the way to take care of personal things.
There were so many things that I learned along the way. When I reached level 3 and was able to pick which classes I wanted to take in the final phase, I took a mix of ones that I thought I could excel in and a couple that I felt I really needed a lot of help with. And although I procrastinated on these, I think I learned the most in them. These were classes by Jaycee doing watercolor florals and by Erum doing advanced coloring. I learned so much in these classes and although I have a long way to go in these areas, I feel like I have the foundation to build upon. You can see the results of these classes in my previous blog posts.
For the final project, I was tasked with doing a 2 hour
workshop (either in person or virtually) to at least 4 people. The goal was to teach the workshop
participants a specific technique that I wanted to focus on.


When deciding what to do for my final project, I decided to utilize areas where I feel very comfortable since I would be teaching others. I love mixed media in various forms and have really enjoyed learning more and more how to utilize alcohol inks in projects. So, I thought it would be fun to try alcohol inks on various types of paper or medium rather than a Yupo paper or Craft Plastic which I had used in most of my classes.
My first step was to put together my sample cards, my
plan for hosting the workshop (including when, where, who to invite, etc.) and
then my plan during the workshop (how much time for each card and
technique). Once that was approved, I
created a flyer for the workshop and posted to my desired audience.

I also decided to do a practice workshop a couple of
weeks prior at Bridget Casey’s Saturday crafting sessions. Bridget suggested I do a different set of
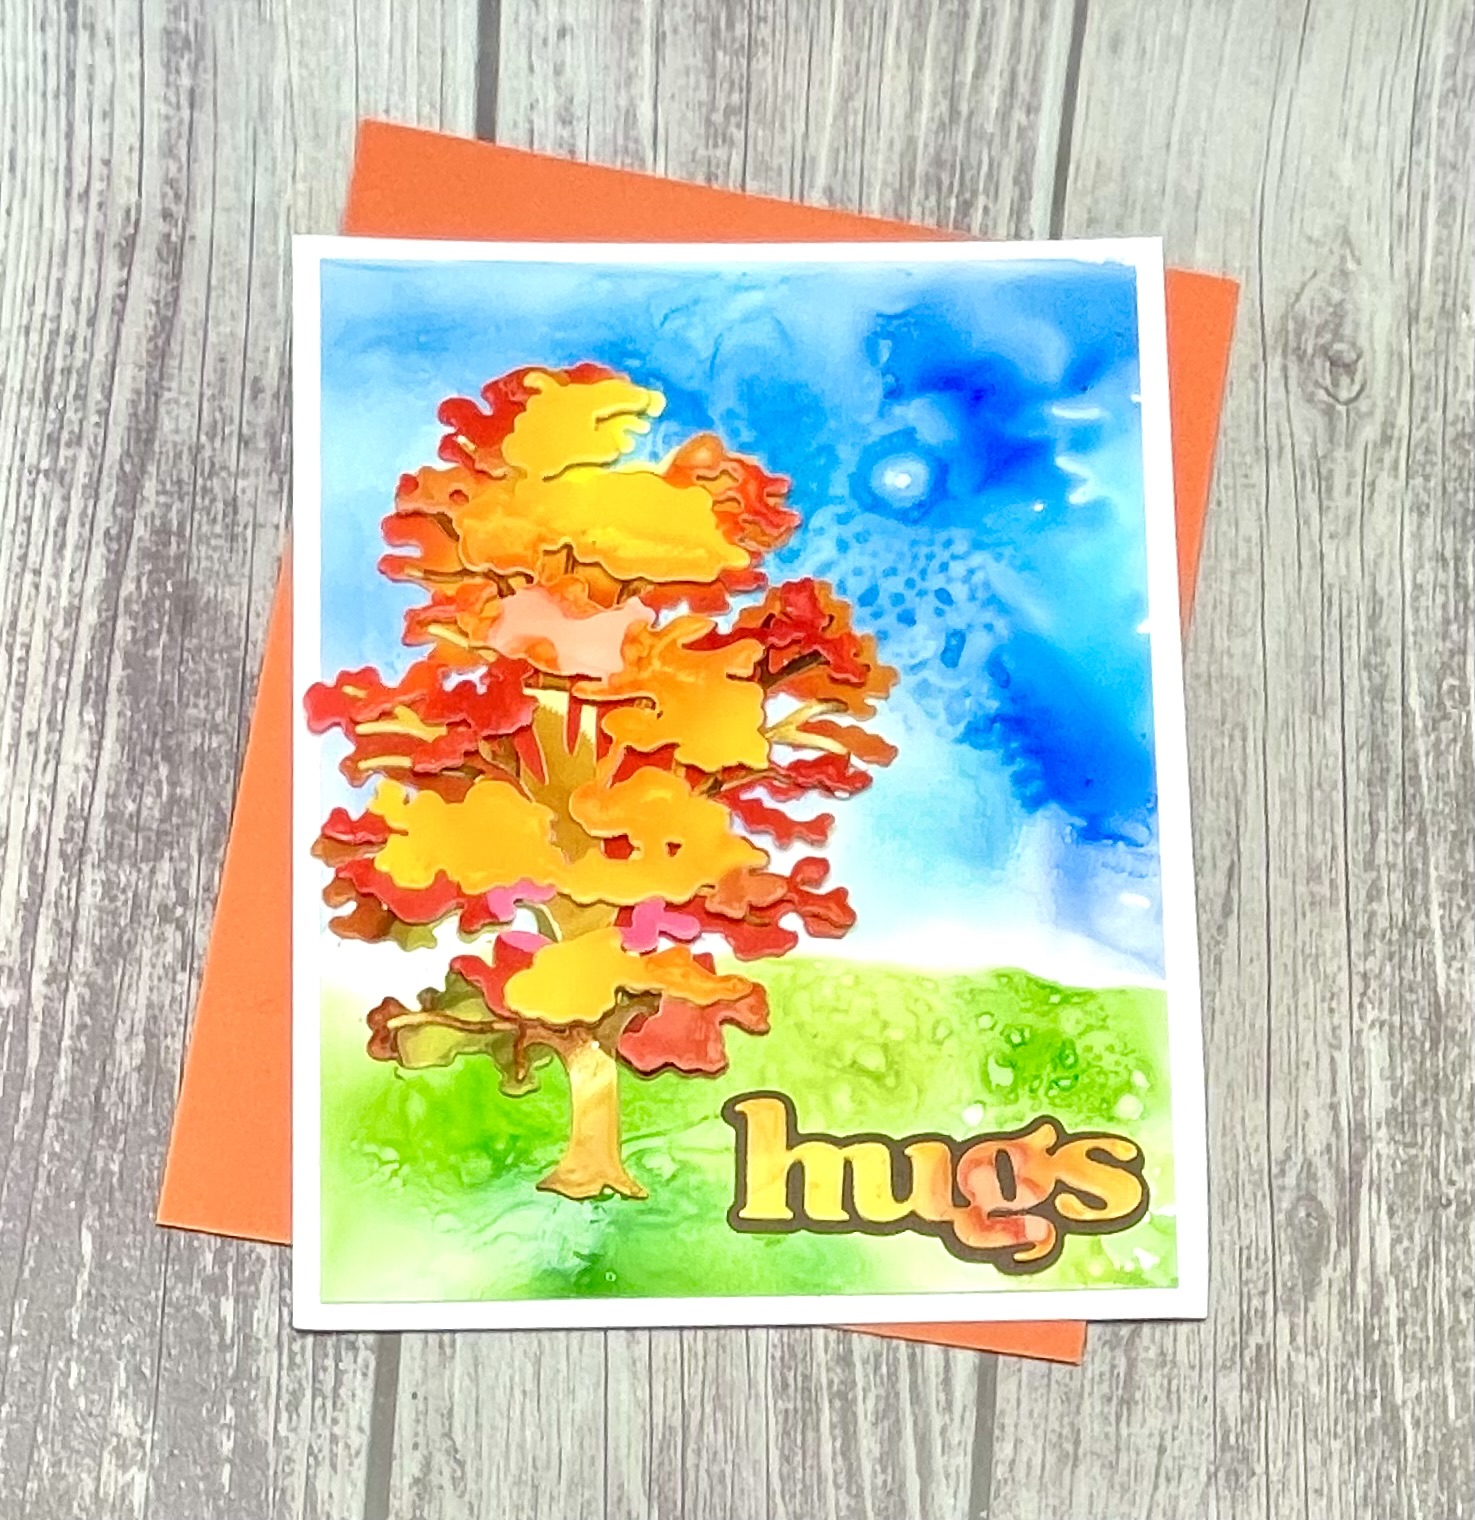
cards since some may attend my workshop and this session as well. I ended up doing the Altenew Chestnut Tree (You can learn more on this in my previous blog post as well). We did one card and I showed them several
samples of other ideas. This workshop
went fairly well. The card idea I had
was well received and I did advertise my Level 3 final class during this
session.
I did learn a bit during this practice especially about pace and keeping the audience engaged. I also learned a lot about the technical side of presenting in Zoom or Google Meet, and I still have a few items to work out on the technical side.
As my class drew near, I did repost the class. In the end, I had 5 participants wanting to attend. I made sure to send them the class supply list 2 weeks in advance in case they needed to get any additional supplies. I did have one participant say they did not have any alcohol inks and asked if there was anything else they could use. I tried a few things using alcohol markers and watercolor markers as well. I did share these results with that participant and at the beginning of the workshop I hosted.
One week prior to the workshop, I sent out the meeting link and the final instructions for the projects. And then the day prior I sent out a reminder to all the participants for the workshop.
Also prior to the workshop, I went ahead and die cut all my sentiments and also die cut all my pieces of flowers that were not part of the alcohol ink technique. This allowed me to be a little more at ease during the class and not to have to focus on die cutting. I still allowed plenty of time for the participants to do this, but it helped me to be able to answer questions or just talk with participants during this time.
Just prior to the workshop, Erum did get online with me to test out everything. I was having some technical difficulties which magically fixed themselves just as we were starting. However, I did take notes to fix my landscape orientation for the future as well.
All of the participants were prompt and ready to craft when we started the workshop. I did all of our alcohol ink work at the beginning so it had time to dry and then the rest of the workshop was really just putting everything together. They seemed to handle this plan well and it gave us plenty of time at the end of the workshop to complete the cards.
Cards 1 and 2:
The first 2 cards that I planned for this workshop was
focusing on using glitter cardstock with the alcohol inks. The plan to was cut a few of the petals and possibly
some leaves with the glitter cardstock after they dried. I love the look of the Altenew Glitter
cardstock and it makes beautiful pops of sparkle in the flower.


Card 1 and 2 Instructions:
Homework/Prep
Work:
· Cut two white card
panels to 4” x 5.25”
· Cut two Colored
cardstock panels to 4.25” x 5.5” for bottom layer
· Have available colored cardstock for die cutting non alcohol ink petals (I would have about 5.5” x 8.5”
In-class
Instructions:
· We will begin with our
glitter cardstock. Pick out your alcohol
ink colors for each card and determine if you want any glitter leaves as
well. Lay out the layers you think you
will use glitter on to get an idea of size and lay-out. Mark as needed.
· Add some blending
solution to your glitter cardstock (a light coat). Then add drops of your alcohol ink on the
cardstock in the planned areas.
· Use the air blower to
move around the alcohol ink, mixing as you would like. Add more blending solution and ink as needed,
moving around after each application.
· Once satisfied, set
this aside to dry.
· Take your stencil and
your 4” x 5.25” white panel. Put the
stencil down and blend a light layer of your light ink. I start darker in the center and fade out to
the edges, not going all the way to edge.
· Begin cutting the
colored cardstock layers for your flower and your leaves. Add some detail using alcohol markers if you
prefer to the your flower and leaves.
· Next cut your glitter
layers of the flower and leaves (ensuring that your cardstock is dry before
doing this).
· Assemble the flower and
arrange with the leaves onto the white stencil panel. Curl the leaves a little if you desire. Adhere.
· Cut your sentiment and
shadow layer, using either cardstock or extra glitter cardstock pieces. I cut an extra layer to give some dimension.
· Adhere your sentiment
and add jewels as desired.
· Adhere your white panel
to the colored back panel and then attach this to a card base when ready.


Below are the cards made by the attendees during the workshop. They really did such a wonderful job of incorporating the sparkle in their cards and each in a very unique way. I just love how they took the instructions and made their own wonderful cards. It was amazing!!


Card 3:
For the third card, I planned to use a holographic cardstock
and some acetate for my roses. This was
really to try other surfaces with the alcohol ink. I think each participant had their favorite
here and it was good to try a couple of different things. Overall, I think the participants found that
they would like to try different surfaces and get their alcohol inks out more
often.

Card 3 Instructions:
Homework/Prep
Work:
· Cut a white card panel
to 4” x 5.25”
· Cut a Colored cardstock
panel to 4.25” x 5.5” for bottom layer
· Have available colored cardstock for die cutting non alcohol ink petals. I used 3 different colors of pink and 2 colors of purple. You could also use one color and add ink (blending) or alcohol marker to darken the layers. You can darken this when cut later.
In-class
Instructions:
· We will begin with our
acetate and shiny cardstock. Pick out
your alcohol ink colors for each card.
Lay out the layers you think you will use acetate and the shiny
cardstock on to get an idea of size and lay-out. Mark as needed.
· Add some blending
solution to your acetate (a light coat).
Then add drops of your alcohol ink on the cardstock in the planned
areas.
· Use the air blower to
move around the alcohol ink, mixing as you would like. Add more blending solution and ink as needed,
moving around after each application.
· Once satisfied, set
this aside to dry.
· Repeat the last 3 steps
for the shiny cardstock.
· Take your 4” x 5.25”
white panel. Splatter using the colors
desired on this panel and set aside.
· Begin cutting the
colored cardstock layers for your flower and your leaves. Add some detail using alcohol markers if you
prefer to the your flower and leaves.
· Next cut your acetate
and shiny cardstock layers of the flower (ensuring it is dry before doing
this).
· Assemble the flower and
arrange with the leaves onto the white panel.
Adhere.
· Cut your sentiment and
shadow layer. I cut an extra layer to
give some dimension.
· Adhere your sentiment
and add jewels as desired.
· Adhere your white panel
to the colored back panel and then attach this to a card base when ready.

Below are the attendee's cards for Card 3 and again, they did an amazing job of taking different surfaces and making such beautiful cards. I was so impressed in how they were willing to try different things and really expand on the techniques I was teaching.


The ladies that attended the workshop did an outstanding job. Thank you so much Liz, Susan, Suzanne, Pam and Claudia. I so appreciate you attending and supporting my journey to complete the Altenew Educator Certification Program (AECP). I also appreciate all the effort and support that I have received from Erum as the AECP Coordinator. She has been so supportive and encouraging through this whole process.
Overall, I feel I have grown so much as a creator through this program. And I feel I have also grown as an educator. I have started trying my own videos for making cards and last year, I would not have even thought to try that. This program has been a great blessing in growing my creative spirit. If you are looking for such growth, check out this program…….it is amazing!!
Happy Crafting.
Donna T Crafting
Altenew Craft-A-Flower:
Epiphyllum
·
You
can use any Layering Die. I use this set
to make two cards with the two different flowers but you could create two from
the same flower as well.
Altenew Glitter Gradient Cardstock – Shimmering Shore
Or
Altenew Glitter Gradient Cardstock – Milky Way
·
You
can use any colors, I just like the lightest color in this set.
Altenew Alcohol Inks – Various Colors – I suggest Puffy Heart, Aqualicious, Firefly, and Dew Drops (and
Discount code is good on these)
·
I
used a medium pink, teal and light green, but you can pick colors as you
choose. For one card, I used a variety
of colors, but you could also just use gradients of colors if you so choose.
·
I
also used part of the Layered Kaleidoscope Stencil, but you can use any
background stencil you choose
Light colored ink for
stencil
Silver Glitter
Cardstock – I used this for my teal card.
Blending brush
Coordinating cardstock
for flowers and leaves
·
You
can try alcohol as well, but I really like the results with this blending
solution
Alcohol markers
(optional) to add highlights to the flowers
White Cardstock
Small pieces of black
cardstock if desired for greeting
Coordinating paper for
background layer
A2 Cardbase – you’ll
need 2
Gems as desired
Card 3 Product List:
·
You
can use any Layering Die set
Altenew Alcohol Inks – Various Colors – I suggest Pinkalicious, Wisteria and Hydrangea (and discount is good on
these)
·
I
used a darker pink and purple for my card.
·
You
can try alcohol as well, but I really like the results with this blending
solution
Coordinating cardstock
for flowers and leaves
Brutus Monroe Aqua Splash – Violet
Brutus Monroe Shimmer Splash – Pink Passion
Silver Foil Cardstock –
I used Recollections Holographic Foil Cardstock
Alcohol markers
(optional) to add highlights to the flowers
White Cardstock
Small pieces of black
cardstock if desired for greeting
Coordinating paper for
background layer
A2 Cardbase
Gems as desired


