Showing posts with label AECP. Show all posts

Tuesday, October 17, 2023

AECP Level 1 - Clean and Simple Boutique Cards

The Clean and Simple Boutique cards class from Altenew had a lot of great ideas for creating "simple" cards that make a big impact.  This is especially important when you need a card quick.  I tried several of the ideas from the class, but wanted to share one today that I had been wanting to try for a few weeks now.

The lesson within in the class was about Foiling and Metallic details.  I LOVE to foil and use my Minc machine a LOT.  However, I am usually foiling on preprinted toner sheets, so I am limited to the items that I have in my stash or that I can purchase.  Recently, I had seen someone mention foiling using embossing powder.  This sounded like a game changer to me......to be able to stamp an image and then foil it......OH THE POSSIBILITIES!!!

To be fully transparent, prior to the class, I gave this a try on my own and it failed miserably!!  It was a very distressed look to say the least.  So, I was very glad to see this lesson.


The first thing I did was take some watercolor paper and used some dye ink (Catherine Pooler's Pixie Dust and Royal Treatment) mixed with a little water to cover my paper using a regular paint brush.  I wanted this to be airy, so I did leave some lighter areas as well.  I used my embossing tool to dry my paper once I was satisfied with the result.  

Creating full sheets of watercolor backgrounds can be done ahead of time and you can then quickly grab them when needing a quick card.

Next, I picked the Altenew Build-A-Flower: Bearded Iris stamp set.  I chose a shading layer for both the flower (A3) and the leaf (C3) and laid this out on my card.  Then I used a stamping platform to pick these up and used a darker ink (Catherine Pooler's Royal Treatment for the flower and Eucalyptus for the leaf) to stamp these shading areas.  I did use my heat tool for a quick pass to ensure this ink dried.

Now for the fun part!!  I used a new Anti-static tool I had just received on my cardstock.  I then put down the outline of the flower and the leaf and stamped it using embossing ink (Versamark is what I used).  I added my Embossing Powder (Brutus Monroe Foil Reactive Embossing Powder), tapped off the excess and used a small brush to try and clean off any stray bits.  I used a purple foil sheet I had in my stash and ran it through my Minc machine twice to ensure it was adhering.

Well, you might be expecting magic, but when I pulled away the foil sheet, I was very disappointed.  I had dots of foil everywhere.  I guess I needed to check the image better.  I was using 2 new products (the anti-static tool and the Foil Reactive Embossing Powder).  


Luckily, I had a lot more area to work with on my watercolor paper, so I decided to try one more time.  This time, I used my Pink and Main Magic Anti-static Brush that I use regularly.  I did look a lot closer once the powder was on and only had a few stray pieces to get off.  The results, the second time were much better.  I had probably 3-4 stay dots of foil and I used a sharp edge to lightly scrape those off.

I did feel like the leaf needed a bit more green, so I used Catherine Pooler's Lime Rickey with water and watercolored in the open pieces on the leaf.  I then stamped the sentiment using Royal Treatment ink (sentiment is from Altenew's Blissful Bud stamp set).

I debated whether to mount this card on white cardstock, a dark purple, both colors or no background color.  I like the look of at least one layer for a more finished look.  After laying each down, I found I really liked the look of the dark purple as the card base.

Overall, I am pleased at how this turned out.  I think I can still perfect my techniques, but this does open a lot more possibilities in my foiling adventures.


I hope you enjoyed this explanation and will post as I work through the next set of classes.

Donna T.


Products used:


Altenew Build-A-Flower: Bearded Iris stamp set


Brutus Monroe Foil Reactive Embossing Powder  

  Pink and Main Magic Anti-static Brush

Thursday, October 12, 2023

AECP Level 1 - Celebration Stencil Techniques

Greetings!  I have started the next step in my card making journey.  I am working on my Altenew Educator Certification Program.  There are several courses across 3 levels.  I will be posting during many of the courses and showing the techniques that I learned and then used during each course.

My first course was called Celebration Stencil Techniques.  Although I tried several of the stencil techniques, I wanted to showcase the use of a die to make a stencil.  And this led me to getting a two-fer out of this technique.


I started with the Altenew Garden Trellis Cover Die.  I cut this in a sturdy 100 lb. cardstock in order to ensure that it would hold up when using it as a stencil.  

After cutting, I put it down on plain white card panel and taped it into place.  I then color blended with distress oxide ink, making the edges darker and leaving the center just a little lighter to draw your eye to the middle.  You will want to ensure the stencil stays in place, so you may want to use a block to hold down areas you have already inked over.  Also, you will want to go lightly and layer the color to ensure you don't tear your stencil.  This is one of the reasons, I used the heavier weight card stock.

Once ink blended, you can remove the stencil.  You then have two wonderful items to use as bases for your 2 cards.  One is the stenciled card base and the other is what you used as a stencil, which you can keep for later or use, as I did, for another card.

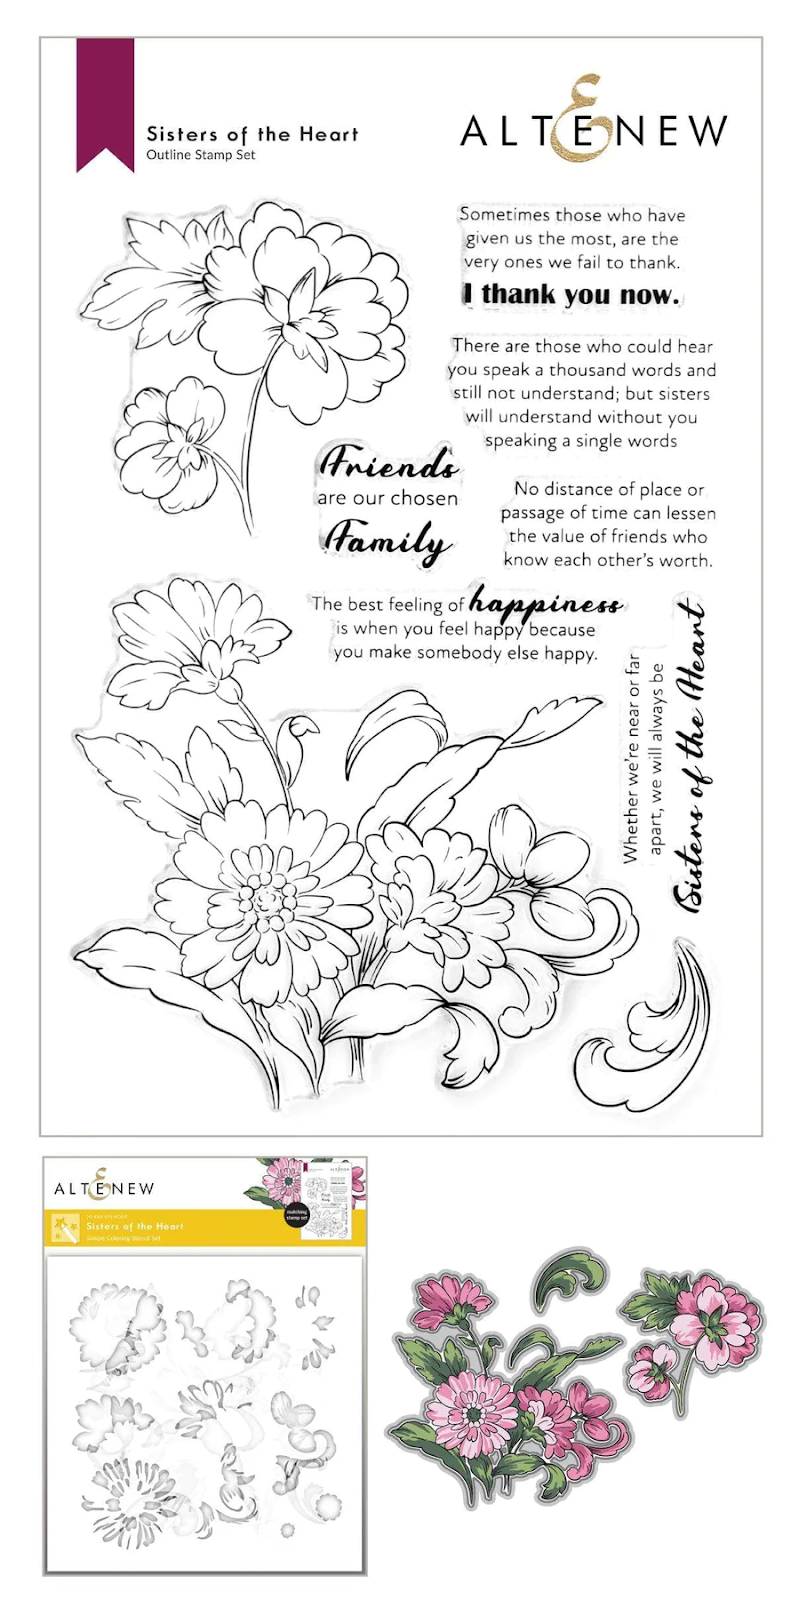
For the first, I then used the Altenew Sisters of the Heart stamp and stencil to create my center flower piece.  This is such a great set with lots of different options.   I used the smaller flower stamp and then used the stencil to get the colored layers using matching and complementary colors to my back ground.  I then popped that up on some foam tape in the center of the card for some dimension.  


I then die cut the Altenew Bold Thanks Die Set using black cardstock for the shadow layer and white cardstock for the top layer.  I assembled this and then placed in the bottom right corner of my card.  Last, I added a few jewels from my stash.


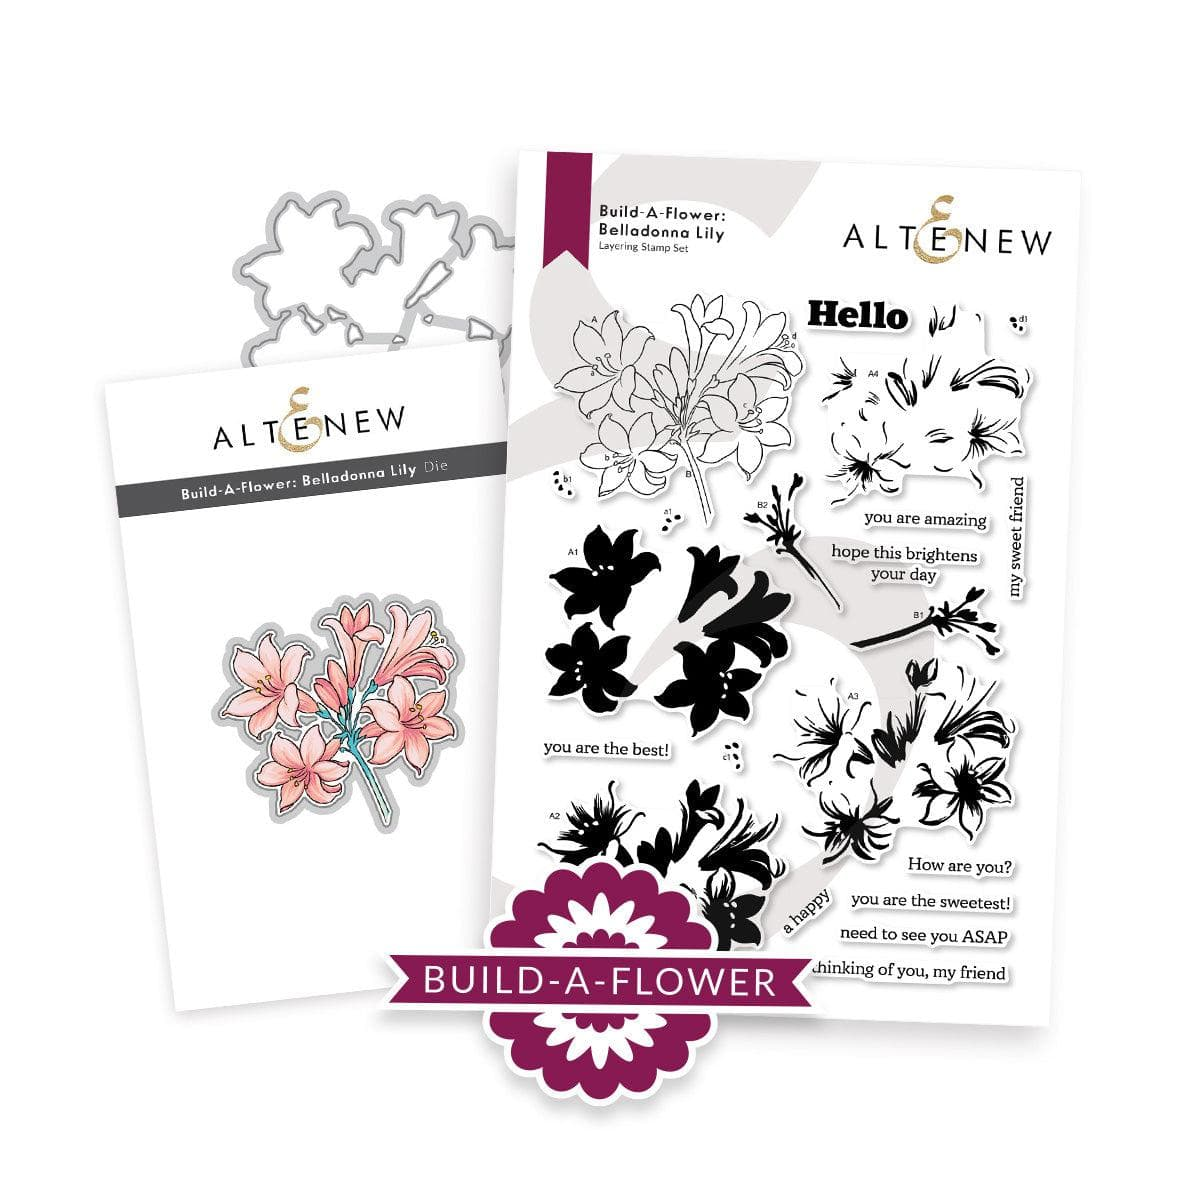
For the second card, I used the trellis that was used as our stencil and placed it on a white card base with glue.  I die cut the Altenew Mega You Die in black card stock and put across the top of my card using foam tape.  I then stamped "you are amazing" from the Altenew Build-a-Flower:  Belladonna Lily stamp set and cut off the "you".  I then put under the "You", again using foam tape.  


Next, I stamped the Altenew Mini Dogwood stamp and colored it using my Copic alcohol markers.  I put this in the lower right corner on foam tape and added a few leaves I already had colored in my stash.  Last, I again added a few jewels from my existing stash.


I hope you have enjoyed this explanation of using your die cuts to make stencils and then allowing you to make 2 cards in one pass.  I look forward to many new techniques in these classes and I hope you enjoy the outcomes of my endeavors. 

Have a great day!

Donna T


Products used:


Altenew Garden Trellis Cover Die                                Altenew Bold Thanks Die Set


Altenew Sisters of the Heart                                            Altenew Mega You Die


Altenew Build-a-Flower:  Belladonna Lily                               Altenew Mini Dogwood


Alcohol Ink Flowers – AECP Level 3 Final Project

**** WARNING – This is a very long post about my journey with AECP **** When I started the Altenew Educator Certification Program, I thoug...