
It's no secret that I LOVE to use alcohol markers. When I came back to cardmaking earlier this year, I discovered these and was instantly in love with them. This course was definitely something I looked forward to in order to get even more ideas on how to use my markers I've been collecting.
For today's project, I had an idea in my head, but had to pivot as it was not turning out the way I wanted. But that is okay. Sometimes pivoting gives us something even more fun!

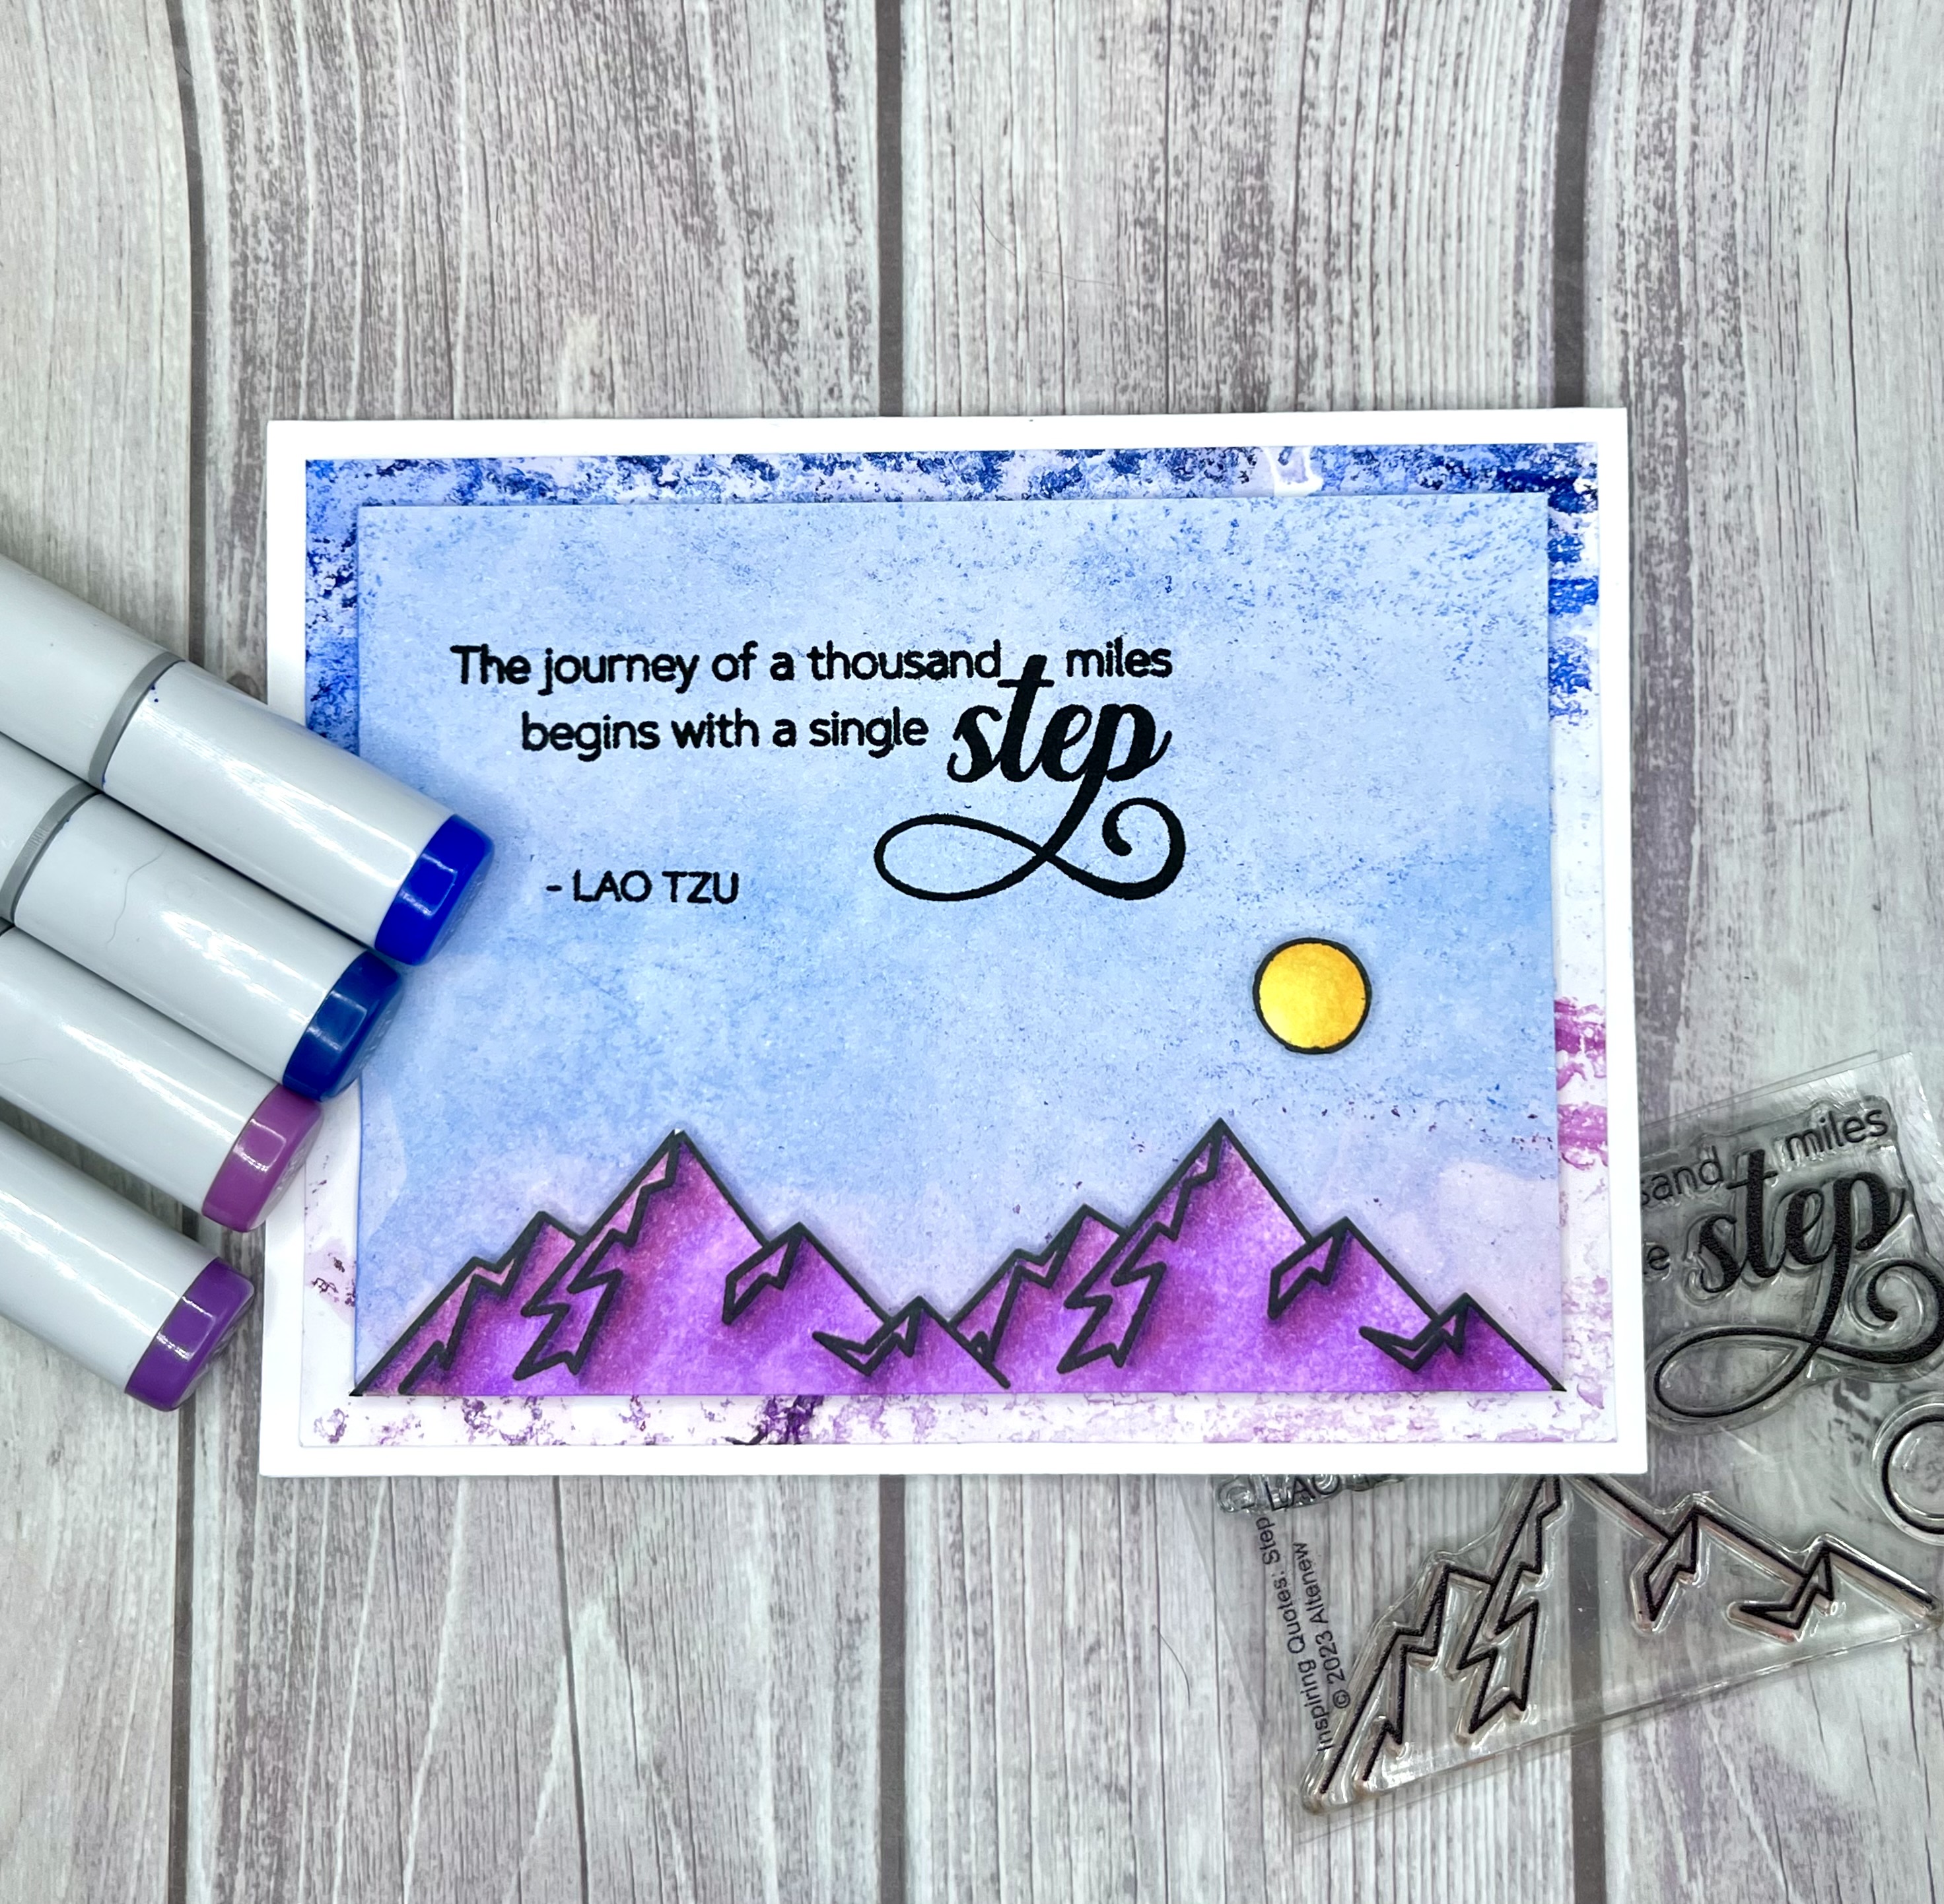
I started with a white card panel. I scribbled my alcohol markers on my glass mat in a row and spritzed them with alcohol and then tried running a brayer through this and onto my panel. While this transferred, it was not the look I was trying for. So, then I tried again, with just spraying with some alcohol and then some water. Again, not the look I was looking for.
Finally, I realized I should use some watercolor paper. I put my marker color on my mat and then sprayed with a little alcohol and a lot of water. Then I dipped my paper into this and I certainly was getting closer. I dipped a few more times, added a little more water, dipped the paper, wiped off some standing water and I finally had something I could work with.

But I did not throw away the other panels. They end up coming into use later.

I then used the Altenew Inspiring Quotes: Step Stamp set and stamped the sun and one set of the mountains. I then masked off the side of the mountain, to add another, but not to have them overlapping. I wanted these to be pretty long for the length of my card.

After this, I colored in the sun with yellows and then used some violet colors to do the mountains. After I finished the coloring, I again took my alcohol and spritzed it over the mountains. As it seeped into the paper, the mountains would lighten. I did this several times, taking it slow, so I could get the look I wanted. I wanted a little shading from the drops on the mountains in places and eventually got to this look.


Donna T.
Products used:
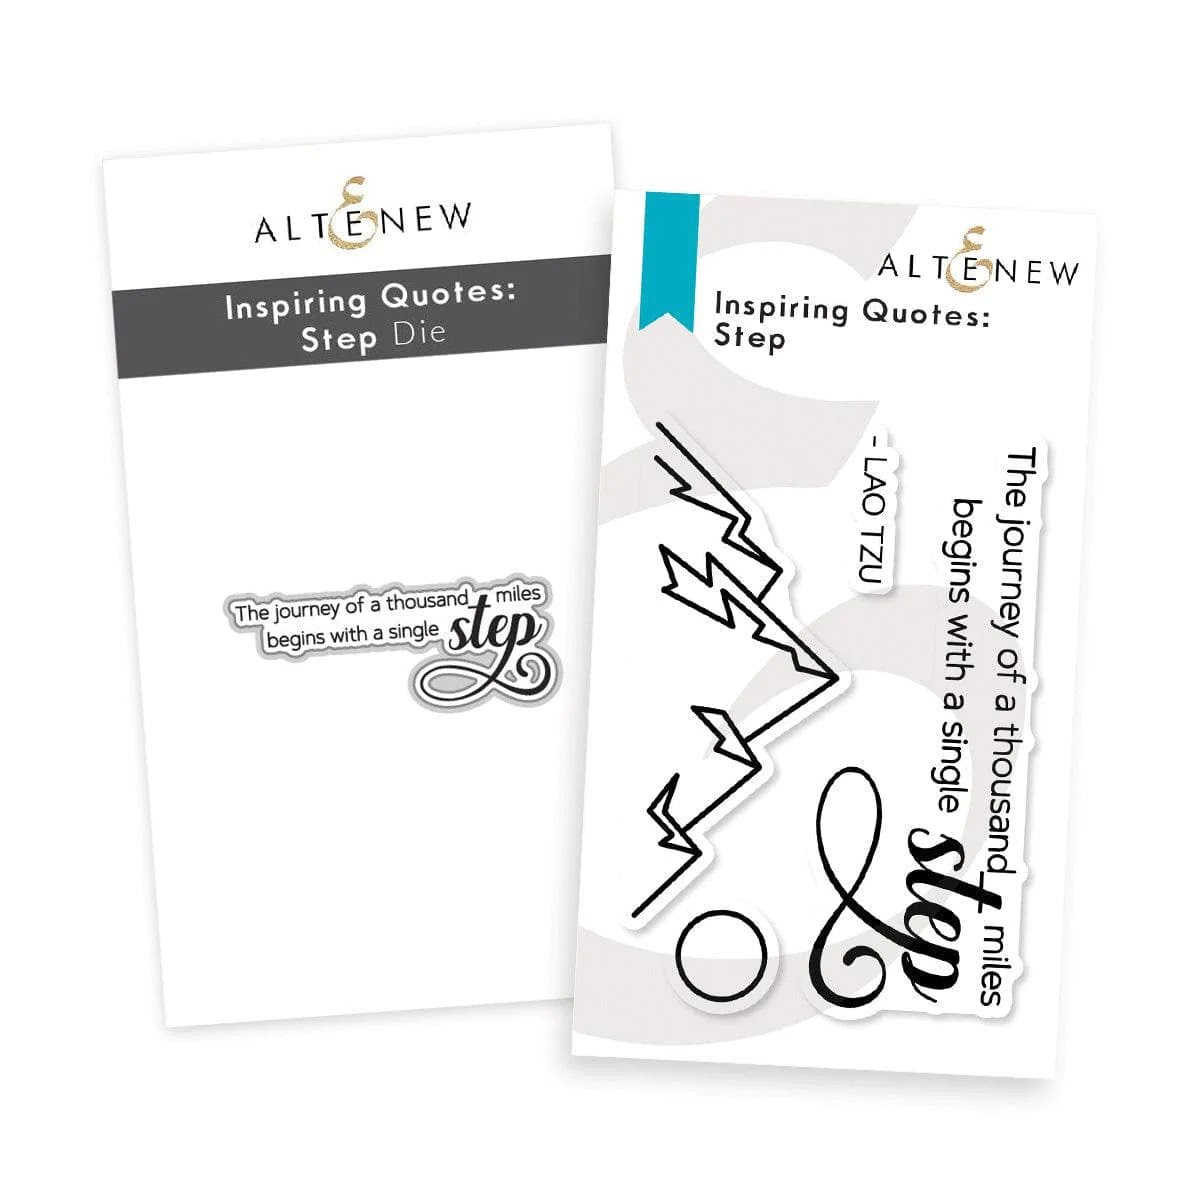
Altenew Inspiring Quotes: Step Stamp set
Copic Alcohol Markers - B18, B29, B39, V04, V05, V06, V09, V15, Y13, Y15, Y17
Watercolor paper
A2 card base
A2 white card panel
91% alcohol
Spray bottles (one for water and one for alcohol)
foam tape
Stamping platform
Momento Tuxedo Black Ink
Tape runner


Great job! I am in the middle of this class right now...
ReplyDeleteWell done!
ReplyDelete